Freeman's Dowel Installation Guide

Proper installation of dowels and bushings for precise alignment of patterns and core box halves is one of the more challenging processes to explain. This guide will show you in detail the proper procedure, which will apply to all of the dowels that Freeman supplies.


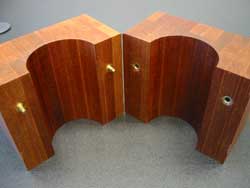
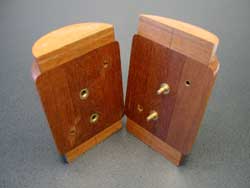
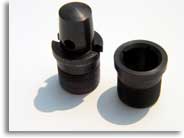
The two diagrams on the right show brass dowels used to align two halves of a core box (top) and two halves of a pattern (bottom). Installation of brass dowels (used in wood only) are relatively simple, requiring only a drill to create a hole of the proper size and depth and a special wrench to insert (and remove) the dowels and bushings.

Installation of steel dowels (used in aluminum, cast iron and other metals) is more involved.


Choosing Your Dowel Style

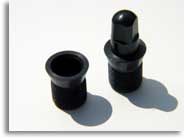
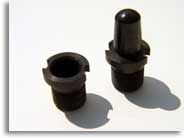
The choice between square head style and the true-line style is one of personal preference. The Husky dowel line, a Freeman exclusive, is our stronger, heavy-duty dowel. Each style of dowel requires its own set of installation tools. Each title below links to the respective product pages.


Creating The Hole

The following instructions illustrate the installation of Freeman Square-Head Steel Dowels. However, this process also applies to Freeman True-Line Steel Dowels and Freeman Husky Dowels, with exceptions as noted.

Step One:
Drilling

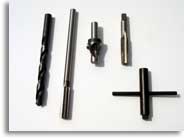
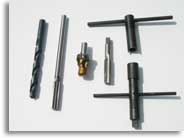
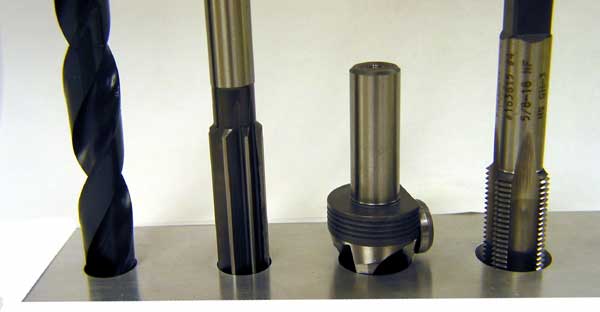
Using the appropriate sized drill bit, drill a hole deep enough to allow the pin and pilot of the tap (step four) to reach its proper depth (the exact depth will vary depending on which size dowel you are installing).

Step Two:
Reaming

Because the hole created in step one won't be a perfectly clean hole, and in fact will be a little undersized, you must use a reamer to finish the hole. The result will be a very smooth, consistent, dimensionally accurate hole.

Step Three:
Counterbore

Next you must counterbore the hole. This tool is designed with a pilot end to perfectly align itself in the center of your hole before boring a perfect concentric bevel on the top of your hole. In order to prevent boring your bevel too deep, the counterbore has a cam on the side, allowing you to manually set the depth of your counterbore*

Step Four:
Threading

Use the tap to cut the threads in the hole beneath the bevel. With a tap wrench attached, you can manually turn the tap to create the threads.

* Each style of dowel has its own counterbore to accommodate the differences in how the dowel sets underneath the surface. Both Husky dowels and True-Line dowels have square shoulders while the square-head dowels have beveled shoulders. If you are using a CNC machine, the cam should be unnecessary.

Installing the Dowel Pin & Bushing


Following steps one through four above, you now have an accurate, precise hole ready for installation of the dowel pin or bushing.

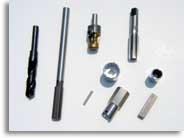
Each style of dowel requires its own set of wrenches or sockets for easy installation.

Square Head Style
True-Line Style

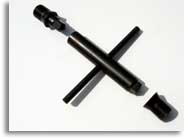
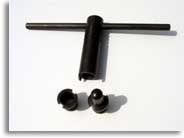
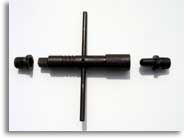
Installation Wrench

Slotted Wrench
Milled Wrench

One side perfectly fits the bushing while the other side perfectly fits the dowel pin

This wrench attaches to the pin or bushing through the slots located on the shoulder of the dowels. This wrench attaches to the pin or bushing through the slots located on the inside of the bushing and on the side of the dowel pin.

Husky Style

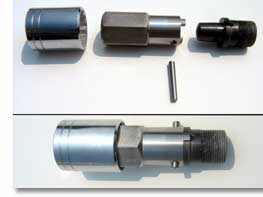
Pin Installation Set

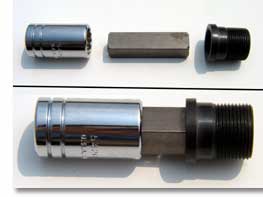
Bushing Installation Set

Socket - Pin Wrench - Cross Pin - Dowel Pin

The one inch socket attaches to a 1/2 inch drive ratchet providing the added leverage required to install these heavy duty dowels.

Socket - Square Drive Bit - Bushing

A special 5/8 inch, 12 point socket attaches to a 1/2 inch drive ratchet providing the added leverage required to install these heavy duty bushings.


+